Getting Started
This page covers what you need before you can generate anything: installing the app, adding your Runway API key, and creating your first project.
Step 1. Install 1stUnit
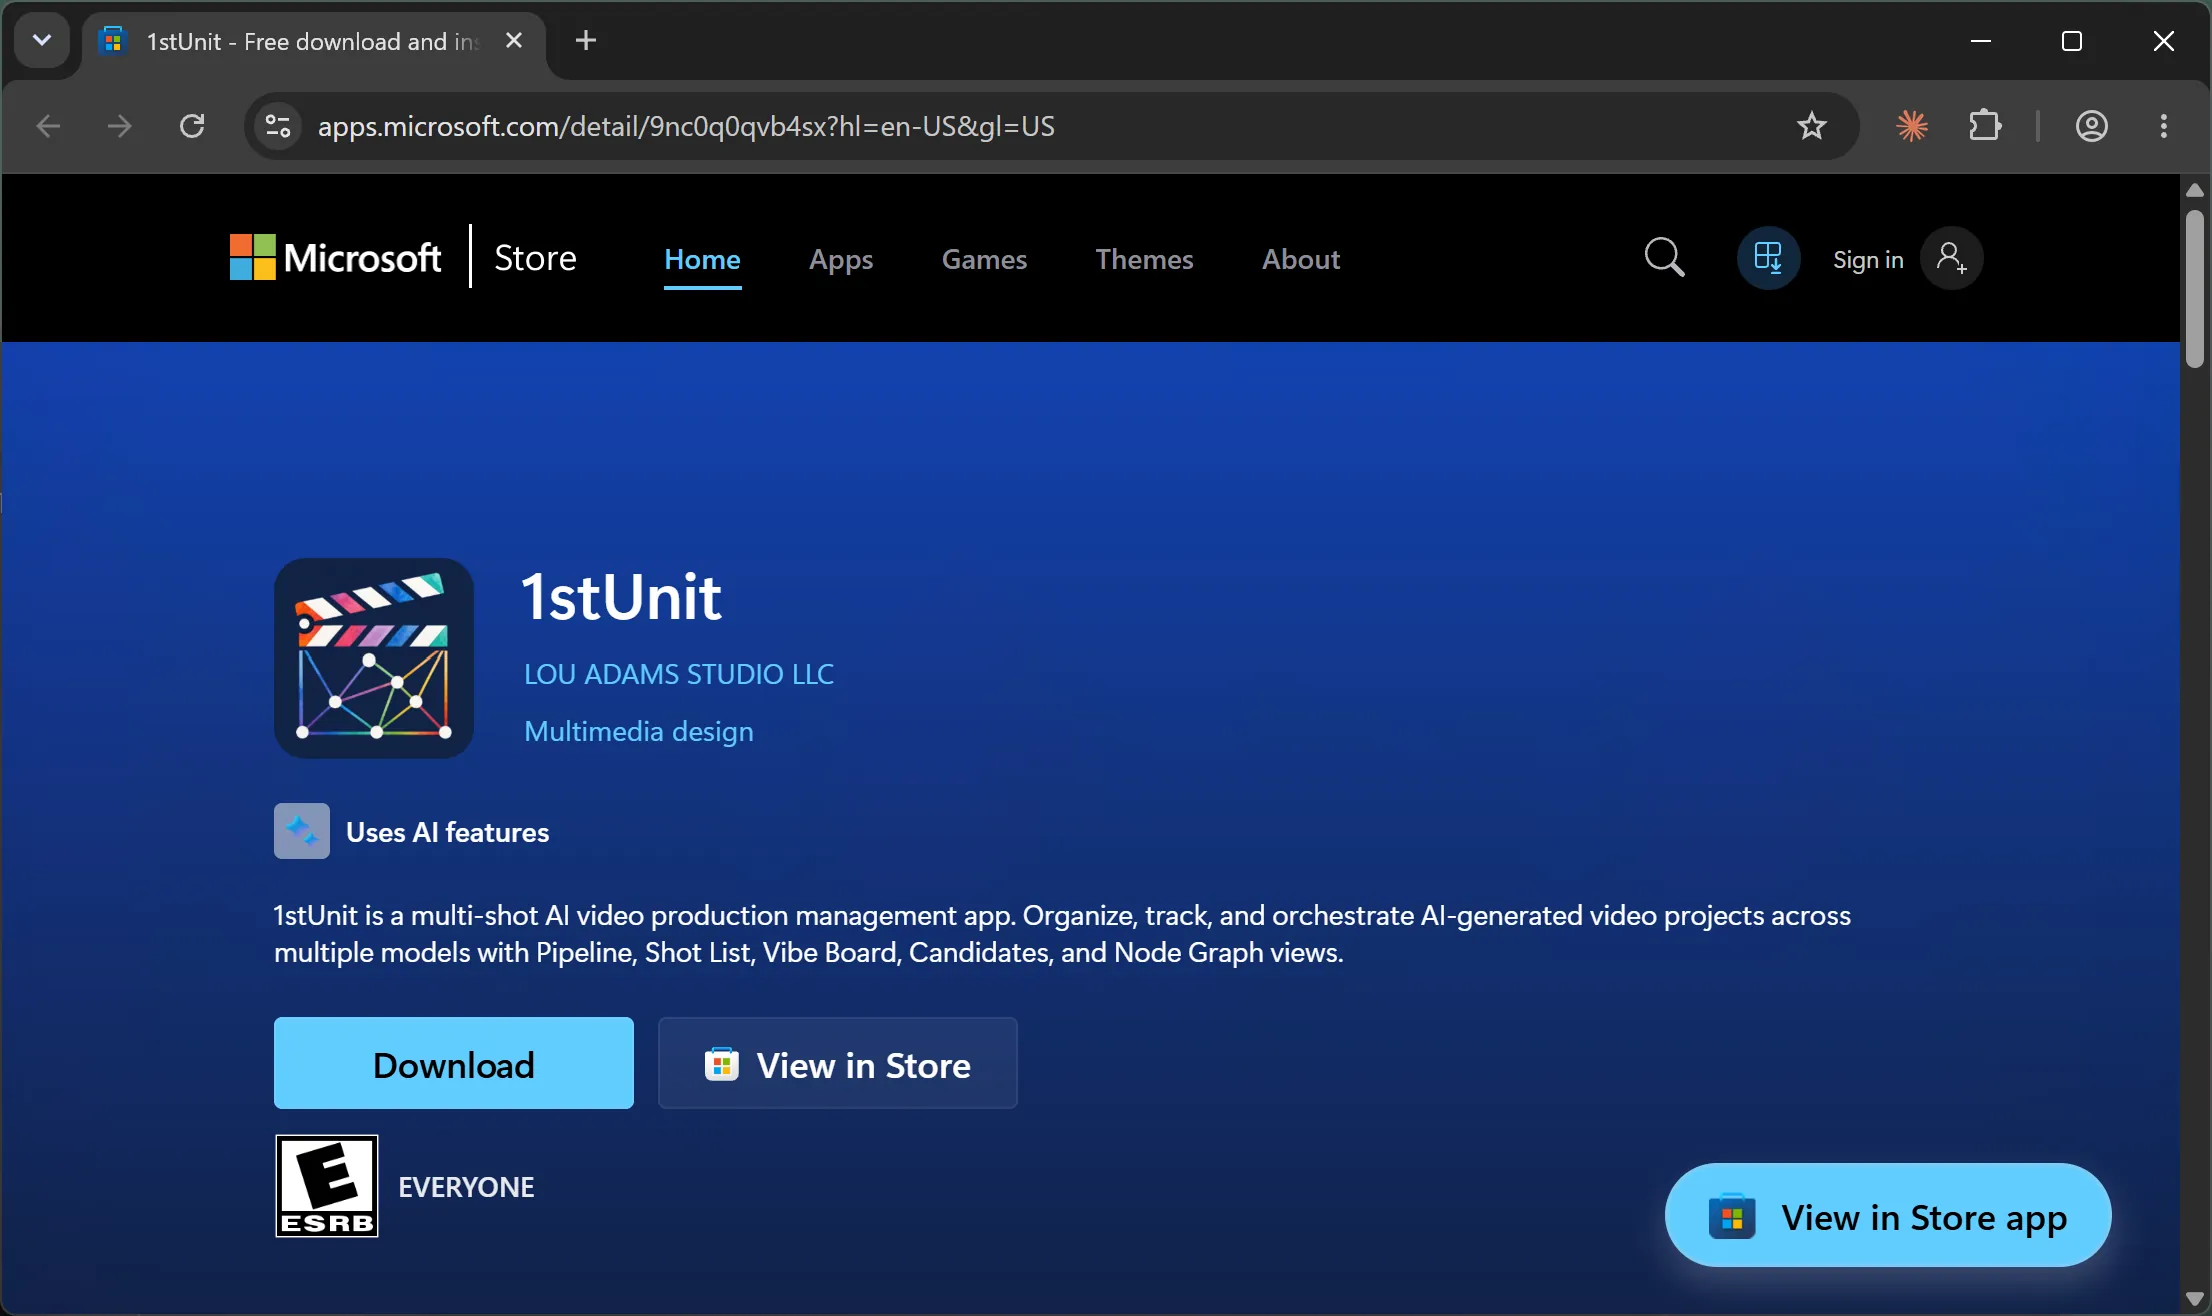
Install the app from the Microsoft Store. The store handles updates automatically, so you do not need to download anything else.
The app runs on Windows 10 and Windows 11. Your project data is stored in a single database file on your own PC at %APPDATA%\1stUnit\1stunit.db. Nothing is uploaded to the cloud except the prompts and reference images you send to Runway when you generate.
Step 2. Get a Runway API key
1stUnit uses Runway as its generation provider. You will need a Runway developer account and an API key from their developer portal. Sign in to Runway, go to your account settings, and create a new API key by following Runway documentation. Copy it. You will paste it into 1stUnit in the next step.
Runway accounts come with a credit balance. Image generations cost roughly 20 credits each. Video generations cost more, based on duration. See the Credits and limits page for the full breakdown.
Step 3. Add your API key to 1stUnit
Open 1stUnit. You can adjust the font size by View > Zoom In or View > Zoom Out, and resize the window to suit your preferences. The app remembers both settings between sessions.
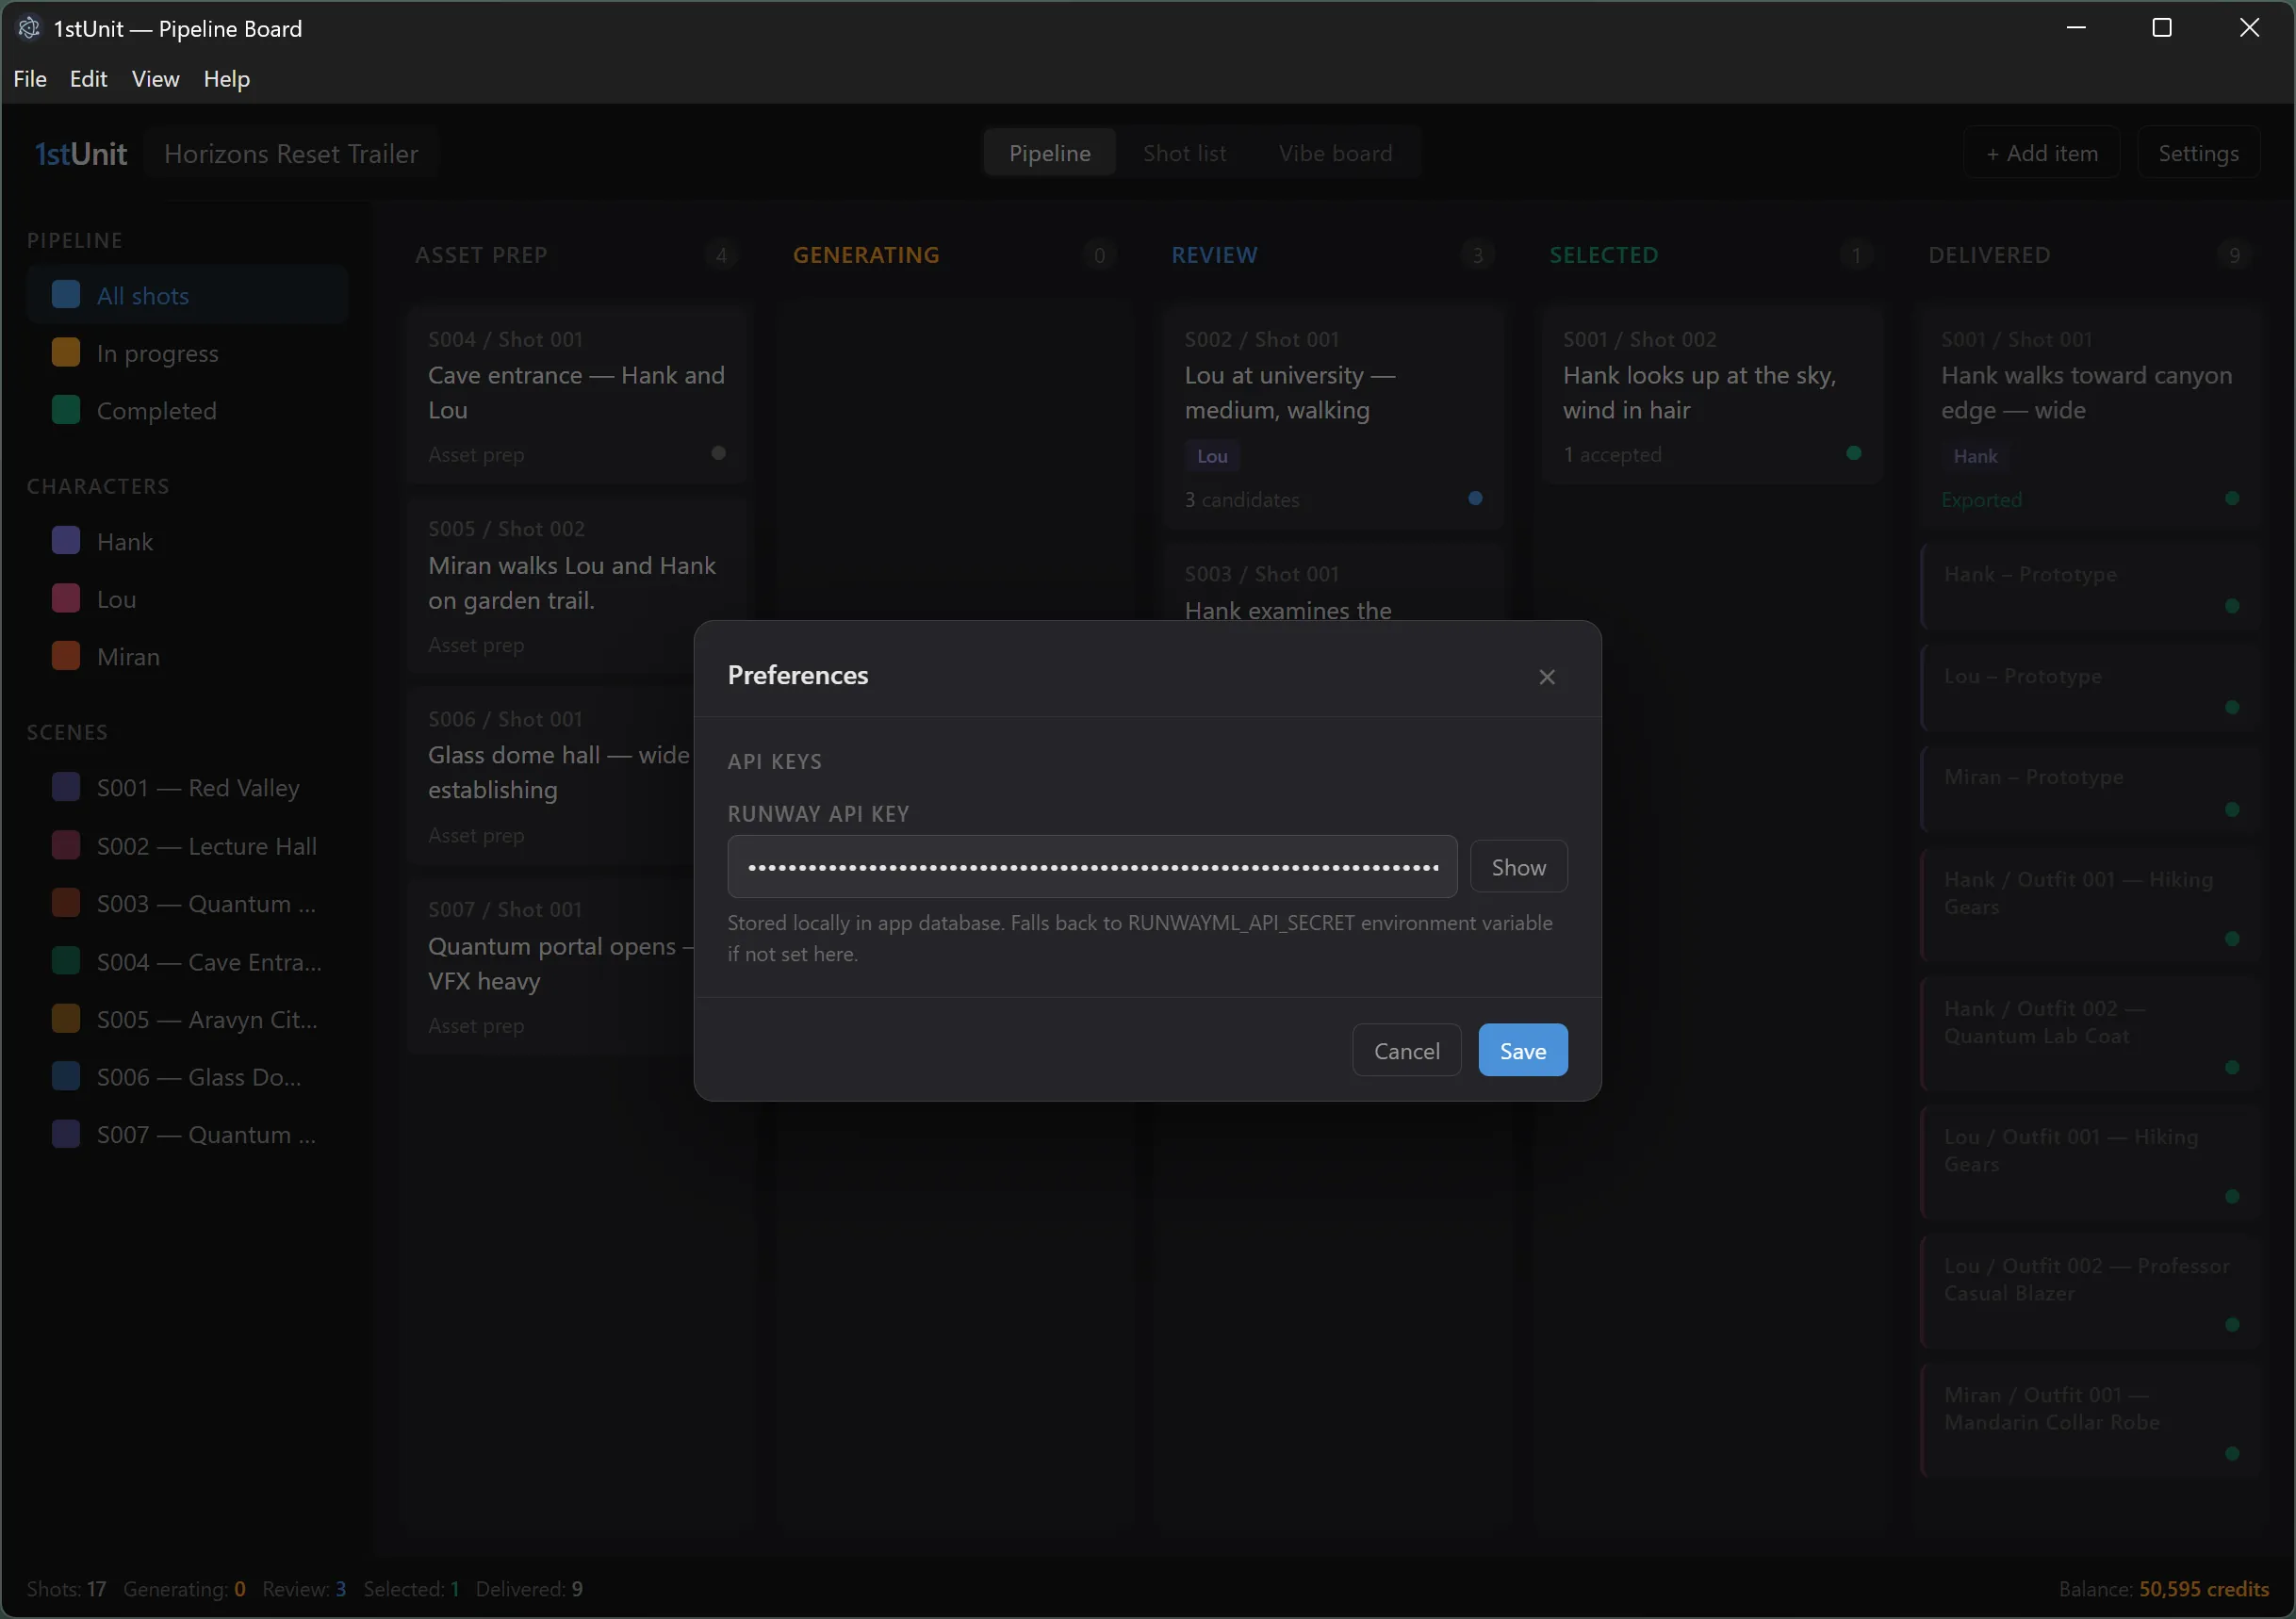
On the menu bar, choose Edit > Preferences. Paste your Runway API key into the field and save. 1stUnit will use this key for every generation request. The key stays on your PC, and is never shared.
Step 4. Create your first project
On the menu bar, choose File > New Project. You will be asked for:
- A project name. Anything you like. This is what shows in the title bar and on the Open Recent list.
- An output root folder. This is where 1stUnit will save every generated file for the project. Pick a folder with plenty of free disk space. Video files add up quickly.
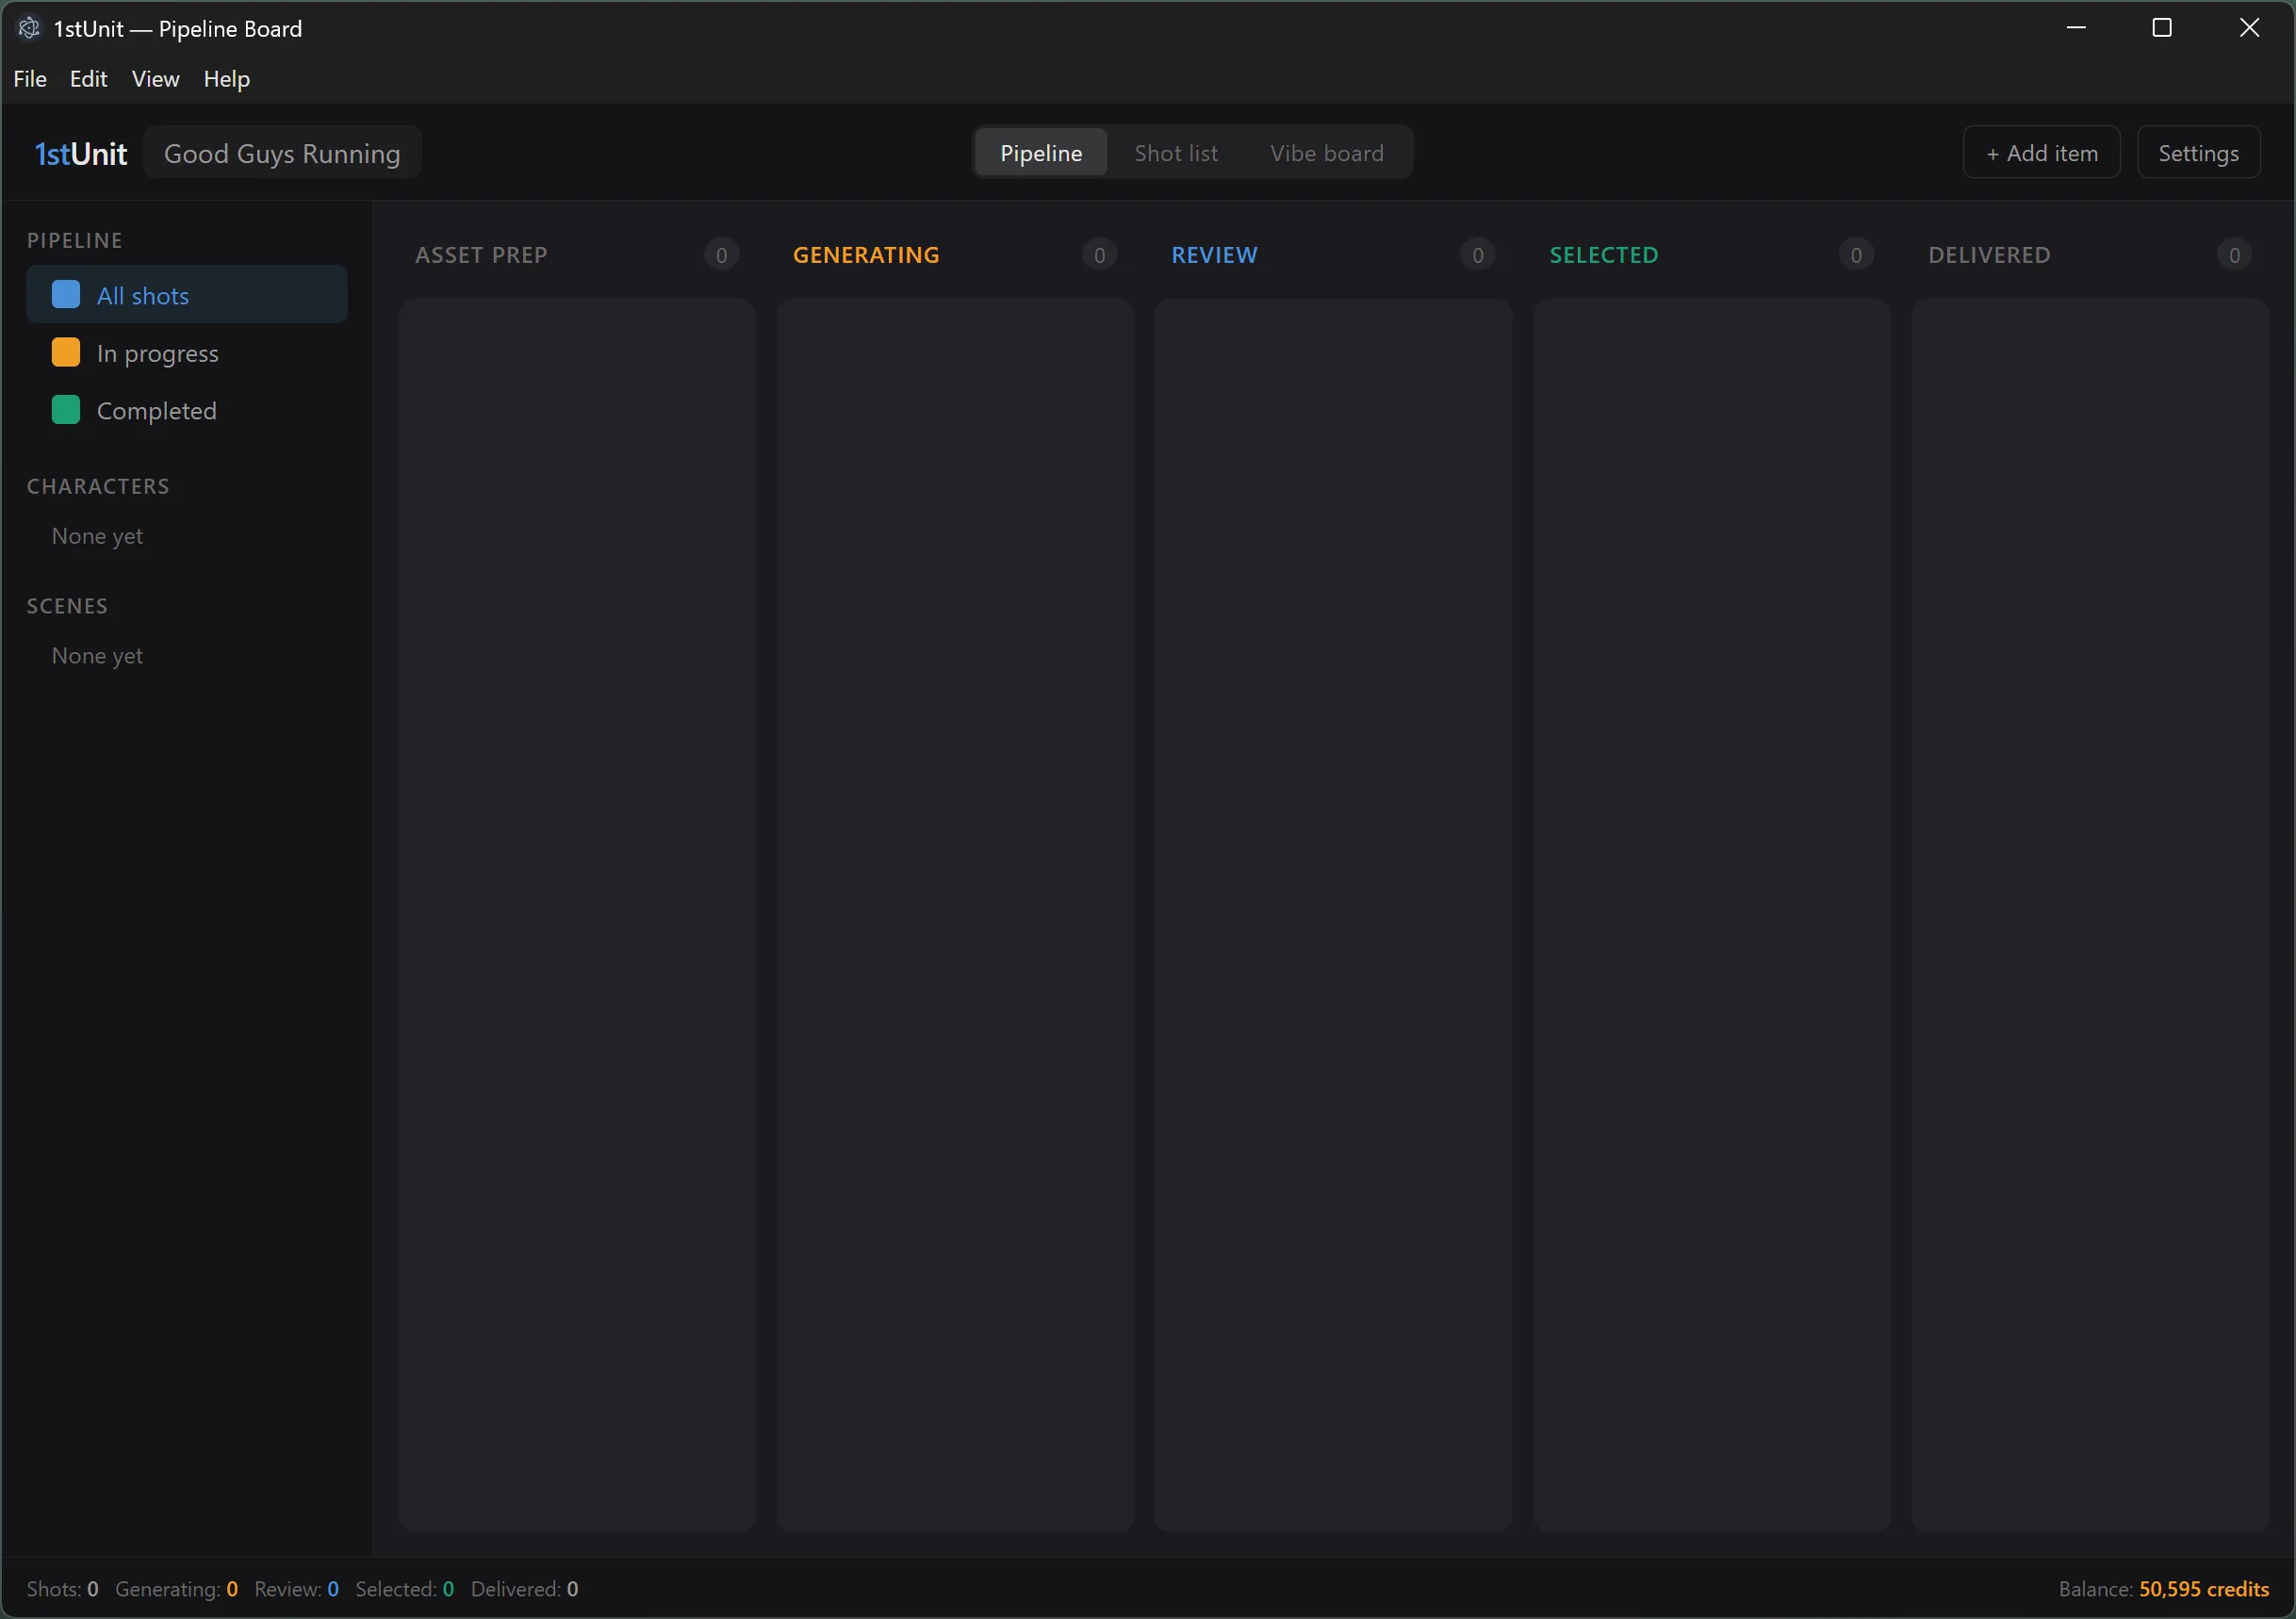
Once you save the form, the pipeline board opens. It will be empty at first, with no shots or characters in any of the columns.
Step 5. Add your first work item
Click Add work item in the top bar. Pick a work type, fill in the details, and save. The card appears in the Asset Prep column, which is where every new work item starts.
If you are not sure what kind of work item to make first, the Work items page explains the four types and when to use each one. A typical first step is to create a character prototype for your main character, generate a few candidates, then move on to outfit variants and shots.
What next
You are set up. From here, the rest of the guide is organized so you can either read it straight through or jump to a topic when you need it. The next page covers project management in more detail, including how to switch between projects and where the Project Settings live.